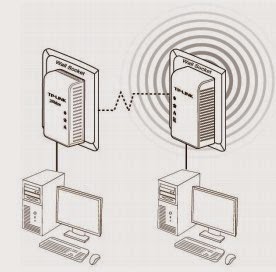
Create a Powerline network using the Pair button
You can connect a number of devices on a powerline network, but you can use the Pair button on only
two devices at a time.
 Step 1.
 Press and hold the Pair button of Powerline device A TL-PA211 for 3 to 8 seconds, the Power
LED will start flashing.
Step 2. Press and hold the Pair button of Powerline device B TL-WPA281 for 1 second, the Power LED
will start flashing.
(This must be done within 120 seconds after pressing the Pair button of Powerline device A.)
Step 3. Wait for about 60 seconds while your Powerline device A and B are connecting. The Power
LED on both devices will stop flashing and become solid light when the connection is made.
Join an existing Powerline Network:
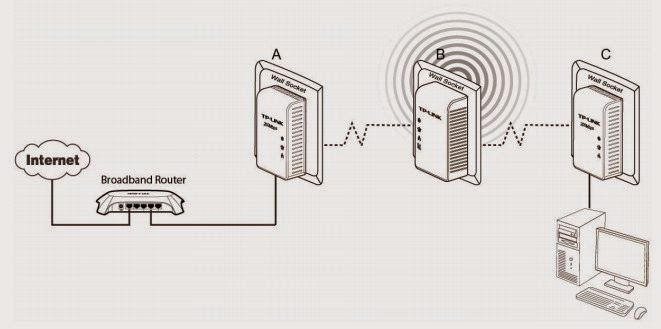
Powerline device A and Powerline device B form a HomeplugAV Network, and Powerline device C
wants to join this network.
 Step 1.
 Press and hold the Pair button on Powerline device C TL-PA211 for 3 to 8 seconds.
Step 2. Press and hold the Pair button on Powerline device A/B for 1 second/3 to 8 seconds.
(This step must be taken within 120 seconds after step 1 is finished.)
Step 3. Wait for about 60 seconds while your Powerline devices are connecting. The Power LED on
Powerline device A/B and C will stop flashing and become solid light when the connection is
made.
Leave an existing Powerline Network:
As the figure above shows, Powerline device A, B and C have formed a HomeplugAV Network. The user
wants to remove one device (Powerline adapter C) from this network.
Step 1. Press and hold the Pair button on Powerline device C for at least 10 seconds. Powerline
device C will reset and restart.
Step 2. Wait for the reset to complete.
Reset
To reset the Powerline device:
Press and hold the Reset button for about 10 seconds, and then release the button. You will see all
LEDs begin to flash. At this moment, the default settings have been restored.
Be careful, don’t power off when the device is in reset process.


